Table of contents
You may notice that if you scroll to the bottom of any blog post on my site, you will see a section that asks you if you like this post and if you do to give it some claps. This isn't something you see very often but it is easier than you think.
Personally, I chose to use Lyket, a great bit of indie development. It supports React, HTML and WordPress so perfect for all the cases you might need.
The Setup
For a React based blog you just need a single package, @lyket/react and you are ready to start adding claps to your website.
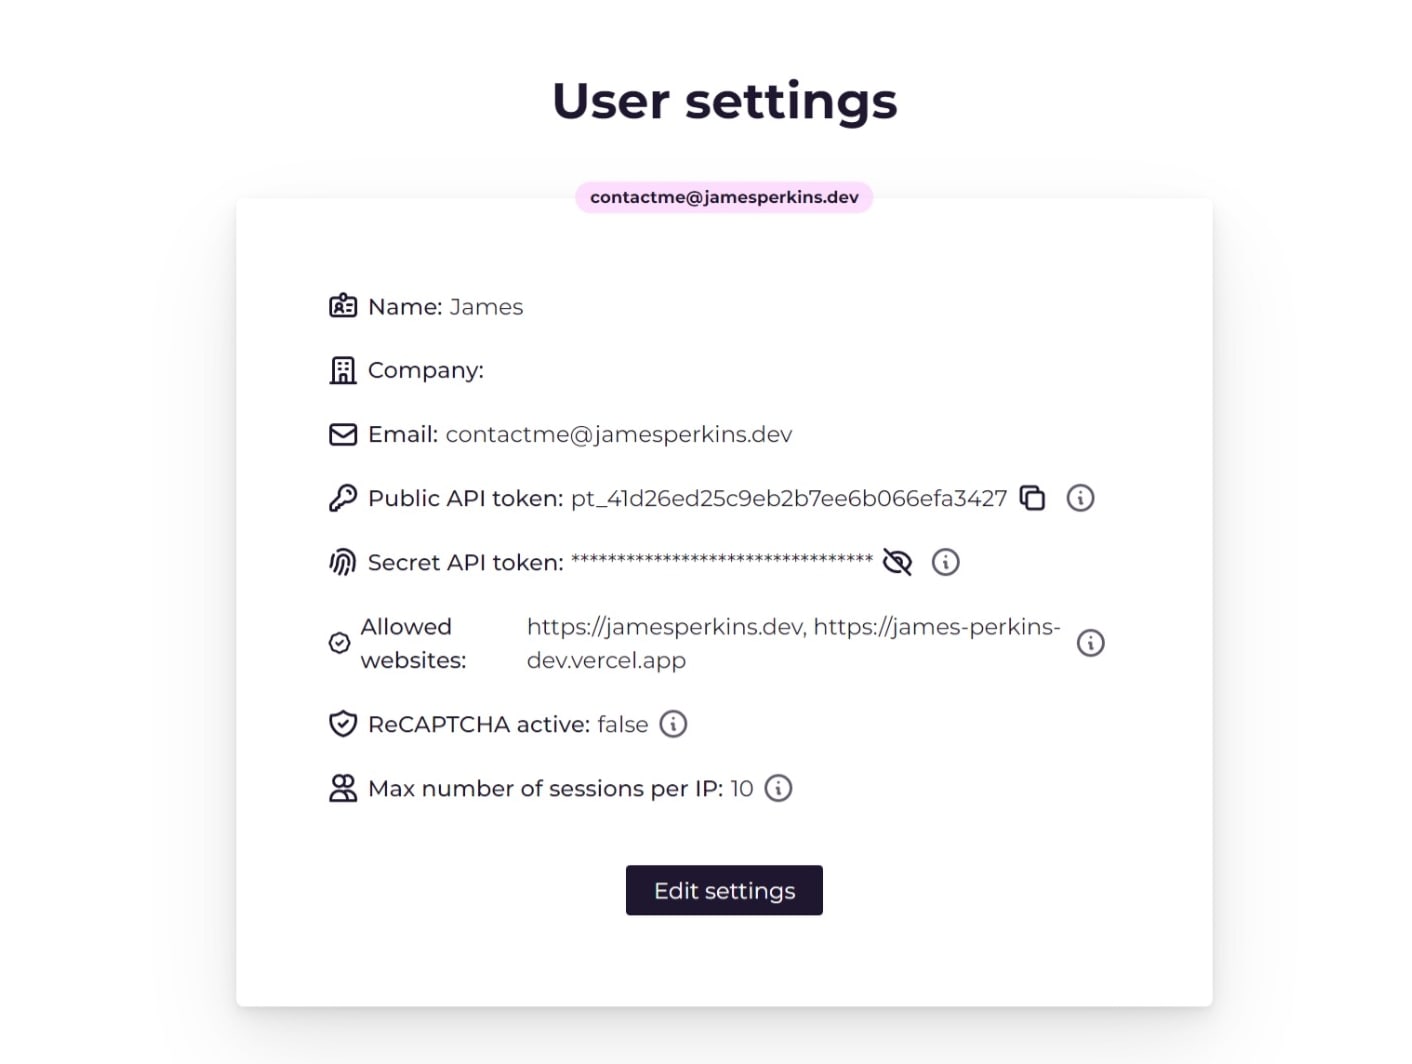
Next you need to signup for your Lyket account which can be found at https://lyket.dev . Once you signed up grab the Public API token from the settings.
Wrap our _app.js
Now that we have all the required pieces, we can wrap our application in a provider so we can use it with Lyket. First you need to import Provider from Lyket but instead of importing as Provider let's use LyketProvider .
import { Provider as LyketProvider} from “@lyket/react”
Now we need to wrap our application in this provider and pass in our API token so Lyket can know which account to use.
Your _app.js should look similar to the following:
import '../styles/index.css'
import { Provider as LyketProvider} from “@lyket/react”

export default function MyApp({ Component, pageProps }) {
  return (
    <LyketProvider apiKey="[YOUR-API-KEY]">
      <Component {...pageProps} />
    </LyketProvider>
  );
}
Using Lyket on a page.
Lyket is now available on any page we want. Open up the page you want to use Lyket on and add the follow import import { ClapButton } from '@lyket/react'; then we can use this component wherever we want. For example:
import { ClapButton } from '@lyket/react';

export BlogPost = ({ title,slug, content }) => {
  return (
    <div>
      {title}
      <ClapButton id={slug} namespace="blog-posts" />
      {content}
    </div>
  );
};
That is it, now your readers can clap when they love your post.

